Yet Another Day at the BHF

12 Oct

It’s been another busy day at the shop. Today, has been mixed duties, between cleaning and working on the shop floor. Between 2 – 3 was the busiest period on the shop floor and I had a queue of customers, wanting serving. However, the lovely Pat was on hand to give me some help.

Between that, I have tried to unblock the hoover. However, it’s a non starter, as the head does not come off the pole and taking it apart doesn’t help. Plus the tub vac is missing it’s poles and hose is missing, so I am going to see if we can get a replacement. I could really do with a upright for the stock room and stairs. The kitchen and toilets got there usual clean and I managed to get round to sorting the back lobby out and with the help of Ella, took out all the cardboard and emptied the bins.

I didn’t get round to doing the stairs, but that’s a job for tomorrow 🙂

Maintaining your Tub Vacuum Cleaner

12 Oct

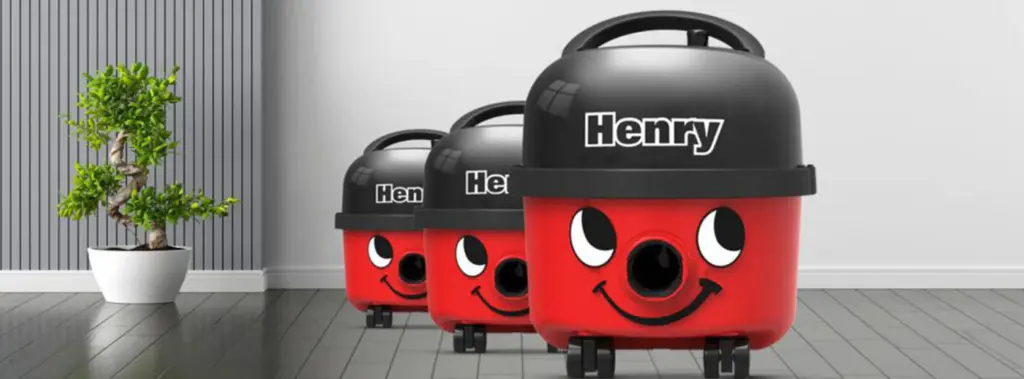
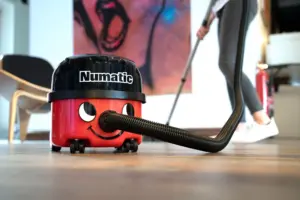
Your Vacuum Cleaner is one of the most important tools, in your arsenal of cleaning equipment. Tub Vacs, come in all shapes and sizes, from the Numatic International range of tub vacs, (Henry, Hetty, George etc) to machines that can do wet and dry, shampooing and machines specialising in picking up hazardous materials.

So it is important that we keep our tub vacs properly maintained. If dirt builds up in the machine, it can lose suction power, making it less efficient, or cause it to block or even overheat, which can lead to a fire. A well maintained tub vac is a happy tub vac and will give you years of faithful service, if it is well looked after.

In this guide, we will look at how to maintain your tub vac and keep it at it’s best.

Clean the Filters Monthly

Dust and debris can build up quickly on your vacuum’s filter, reducing its suction power. That’s why it’s important for you to clean it out every month.

If they are washable, rinse them under luke warm water. Do not use any chemicals, as this can damage the filter. If it is non washable, take it outside and give it a hard whack against a wall, to dislodge any debris.

Think Health and Safety: Make sure to wear a dust mask and protective clothing when cleaning non washable filters. The face mask, will stop you inhaling the dust, while the protective clothing, will prevent you from getting dirty!

Clear any Blockages

Tube and/or hose blockages in your vacuum cleaner are another cause of poor suction. Fortunately, it’s easy to clear them.

  • For the floor brush, use a screwdriver to undo the screws holding the brush assembly. Be careful when removing the brush, as the plate is spring loaded. You can then use a flat head screwdriver, to pull the gunk out the neck of the the pipe. On some models, the neck has a clip, which allows you to disassemble it.
  • For the pipes: Disconnect the pipes from your tub hoover and use a hose to wash out the inside. You can feed the hose down the pipe, is it is easier. You can also do this for the telescopic poles too. Make sure to wait for the pipes \ poles to dry, before recaching them to your tub hoover.

Empty the Bag When Full

Your Tub Vac will loose suction, once the bag is full. Once it is full, it will need changing. You risk causing the bag to explode, if you carry on using the tub vac with a full bag. So it is important to stop when the bag is full and swap it for a new bag.

Keep your Tub Vac Clean

I wash out my Tub Vacs once a week. Thankfully, the motor casing, clips onto the top, so I can wash out the tub where the bag sits. This involves removing the motor off the top and removing the bag. Then I wash out the tub out with mild disinfectant and warm water. Once washed out, I tip out the water and use blue paper roll to dry it out, before reattaching the bag and motor casing.

I also give the outside of the casing a wipe, with a damp cloth, making sure to be careful around the switches. Alternatively, cleaning wipes, is another good way to give the outside of your tub vac a good clean.

The wheels are what keeps your tub vac moving and they can also get caked up. I spray mine with a little DW40, to get the gunk loosened and then use my flathead, to remove the grease and gunk from the wheels.

Check the Hoses, Plug and Cabling Regularly

You should check your hoses, to make sure they are not kinked or have tears in them. This can inevitably cause loss of suction. Kinks can easily be fixed, by gently untwisting the hose. Tears on the other hand, will require a replacement hose. This will be something that your supervisor will normally need to order.

It is important to check the cabling, to make sure it isn’t damaged and inspect the plug, to make sure that it is secure, isn’t damaged and the pins are not loose. I also check the cabling for nicks in the sheath and for any damage to the cable itself. I check both my tub vacs, each time I use the Tub Vac. If your machine has a damaged plug or cabling, DO NOT USE IT – Put a Notice on it to warn others not to use it and report it to your supervisor.

The same goes, if the motor is making fully sounds or if you smell burning. In these cases, yank out the plug, alert your supervisor and put a do not use notice on it.

Talking of cabling, it is important not to overstretch the cabling when vacuuming. This can cause the cable to become damaged. It is also important not to allow cables to trail across a room, as this can be a tripping hazard. Where possible, unplug and move to another socket, when hoovering a large space. If this is not possible, put a Cleaning In Progress Sign, over the cable, so people can see you are cleaning.

Make sure to use the cable rewind, if your tub vac has one. If not, make sure to securely wrap the cable round the machine and secure the plug, when storing.


Washroom Deep Cleaning

11 Oct


Today’s task, was to sort out the Washroom. It was a right mess and needed urgently attending to. it was a job that I knew needed to be done and would take up most of my day. The 1st job, was to empty the room of anything that was not fixed down. This meant carrying thing out and cluttering the break area. However, there was no where else to put it all.

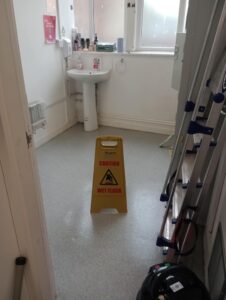
Here’s our empty washroom. It needed a good clean, so that was the 1st job on the agenda. The good old Vel Mop came out and I used this to sweep the floor clean.

As you can see, the lino was looking rather tired and dirty and that was my next job on the agenda. If you have seen my post on cleaning Safety Lino, you will know that is a real pain in the neck to get clean.

Thankfully, this is where neat disinfectant poured on to the floor and a deck brush comes in handy. The deck brush. gets deep down dirt (which is stuck in the abrasive surface of the floor) out. I also used my deck brush, to scrub the skirting boards clean, at the same time. (Making sure to rinse my deck brush in the bucket, at regular intervals)


Here is the floor, after it had been scrubbed with the deck brush. It looks so much brighter and alot more clean! I really had to scrub it hard, to get it to look this good! (Good old elbow grease was needed here!)

Once scrubbed, I washed the floor with clean water. Because of the cleaning process, it took ages for the floor to dry and left footprints, every time that  someone went to the loo, so I was continuously having to re-mop, which slowed the drying process down.

Thankfully, I was able to put the heater on, which helped to dry the floor. The floor was dry the time I had finished covered on the shop floor.


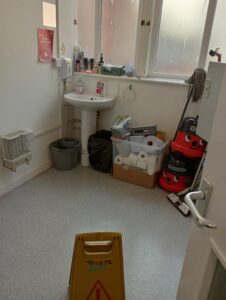
Putting everything back was the last job. Both of my Tub Hoovers, (We have a pair of Henry Vacuum Cleaners) plus the mop, vel mop, buckets and the box that I keep all the toilet rolls, paper towels and spare hoover bags, needed putting back neatly.

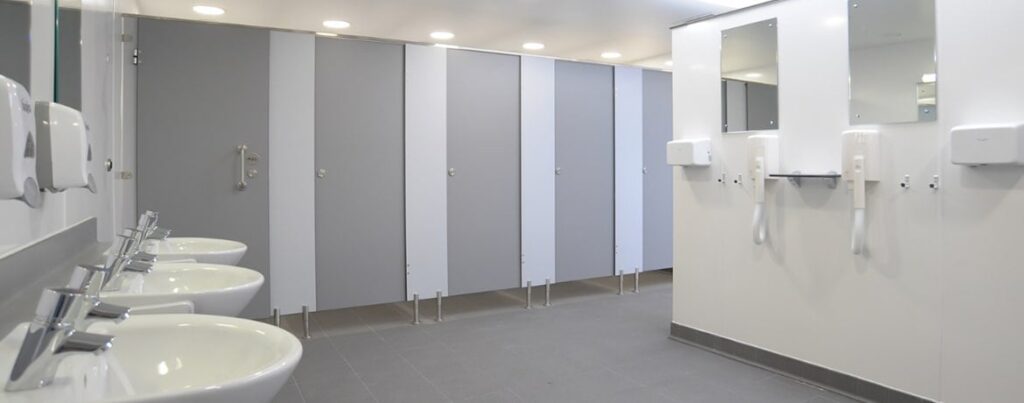
As you can see, the space is much tidier now and you no longer fall over things to get to the sink.

I hope the washroom remains tidy, after spending most of the day sorting it out. My boss was really impressed with what I have done and the effort I have put in.


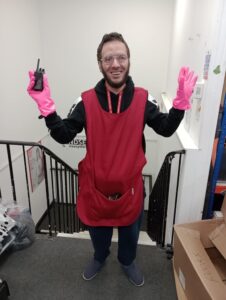
Finally, I have to post this – Lucy (Our Deputy Manager) took this picture of me in my Tabard, rubber gloves and radio in hand. I am also wearing my new glasses, which look really nice on me.

My neighbour Steph also had come into the shop today with her fella, so it was nice to see her. I served her at the till, while I was on lunchtime cover.

I am back in tomorrow and have a list as long as my arm of jobs to do. It never stops at the BHF, but that’s how I like it.

 We are a great team and I love everyone I work with. (Especially Maria, Lucy and Bethan!)

Keeping your Cleaning Store Organised

10 Oct

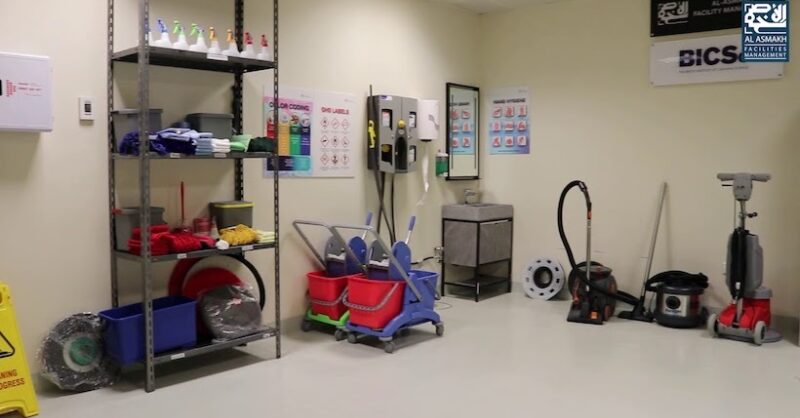
It is important that you keep your cleaning store organised. This helps to make your job easier, as you will be able to find everything much quicker.

Lets have a look at how we organise your cupboard or cleaning store.

Mechanical Equipment

Mechanical equipment, such as vacuum cleaners, floor polishers, scrubber washer dryers, trollies, and buckets, should be kept together, against the edge of the wall. Drum vacuum cleaners, should have their hoses disconnected and should have hoses hung on hooks. In addition, wet floor signs should be either

Mops

Mops should be hung up to dry on hooks. the mop head should never be allowed to touch the floor, as this can cause cross contamination. Spare mop heads should be kept on the shelves, in your cleaning store.

Scrubbing and Polishing Pads

These should be rinsed out and then hung up on hooks to dry out.

Organising Your Shelves

Your shelves should be tidy, with everything neatly organised. I suggest having a shelf for your cloths, bin bags, dusters etc. On another shelf, have your chemicals, making sure that your frequently used chemicals, (such as toilet cleaners, cleaning sprays etc.) Make sure that you rotate your stock, to make sure that you use the older chemicals 1st.

On your very top shelf, keep your paper products, such as toilet rolls, paper towels, blue paper rolls etc.

I suggest having a pair of plastic swing bins under the shelves. One can be used for keeping your clean mop heads in. (Such as Kentucky Mop Heads and Socket Mop Heads) Use the other one for your dirties, which need to be laundered. (Mop Heads and Cloths)

Finally, keep all your 5L bottles on the floor. (Floor Cleaners, Floor Polishes, Strippers and Liquid Soap, that come in these commercial size containers.

Keep Your Store Clean

Like anywhere else, it is a good idea to keep your cleaning store clean. Make sure the shelves are wiped down at least once a month and make sure the floor is swept and mopped once a week. Always clean your “Hopper Sink”, each time you empty a bucket or use it to wash out equipment. This will help to maintain a hygienic environment.

Washing Dirty Cloths, Mops and Other Equipment

Mop heads, cloths, tabards etc, should be machine washed, at a minimum of 60 degrees. You should put equipment for the wash, into a red dissolvable bag and placed in your dirty laundry bin, Doing this, means that you don’t have to touch dirty equipment again, when putting it in the washing machine.

Personal Hygiene

It is important that you regularly wash your hands, even if you are wearing gloves. This is a important infection control measure. Alcohol gel is another really good way to keep your hands clean, if they are not visibly soiled and you are not near a sink.

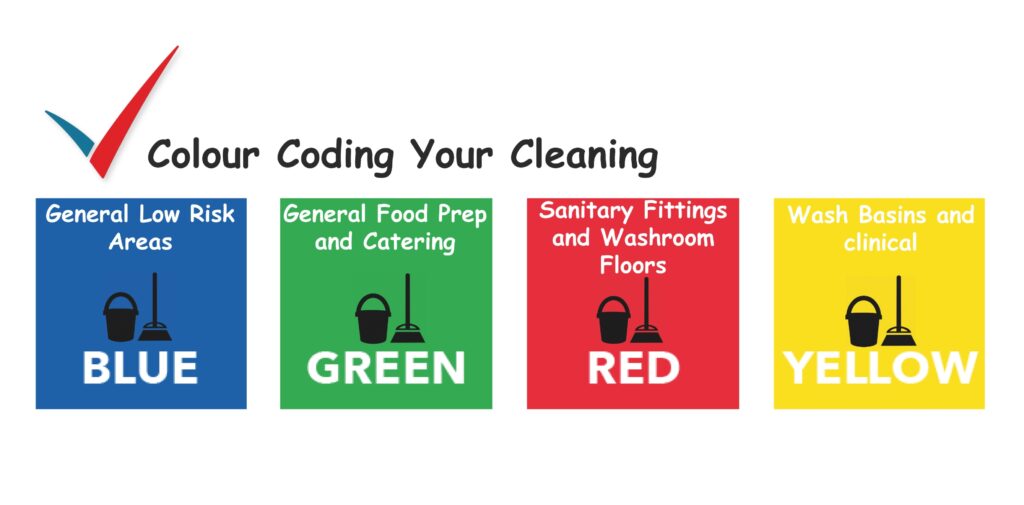
Cleaning Colour Coding

10 Oct

Why do we Colour Code in Cleaning?

Colour Coding, helps to prevent cross contamination. This is why we use the 4 colour codes, when cleaning. You wouldn’t use the same cloth or mop for cleaning the toilet and then use it to clean the kitchen.

What are the colour codes and what are they for?

Red 

Red cloths and equipment is used for toilet areas, that are high risk.

Green 

Green cloths and equipment is used in kitchen areas and is often in restaurant areas too.

Yellow 

Yellow cloths and equipment are mainly used for changing rooms.

Blue 

Blue cloths and equipment are used for general cleaning that is low risk.

A Quick Word On Dusters

10 Dusters Yellow Standard 50 cm x 35 cm

Dusters are yellow, but are used for general low risk cleaning. In colour coding, they can be classified as yellow with red trims.

Keeping Equipment Separate

It is important to keep equipment separated. This includes equipment and cleaning cloths. You should make sure equipment is stored separately at all times.

Mops should be hung up on hooks, along with scrubbing and polishing pads. Cloths should be hung up on string, to drip dry.

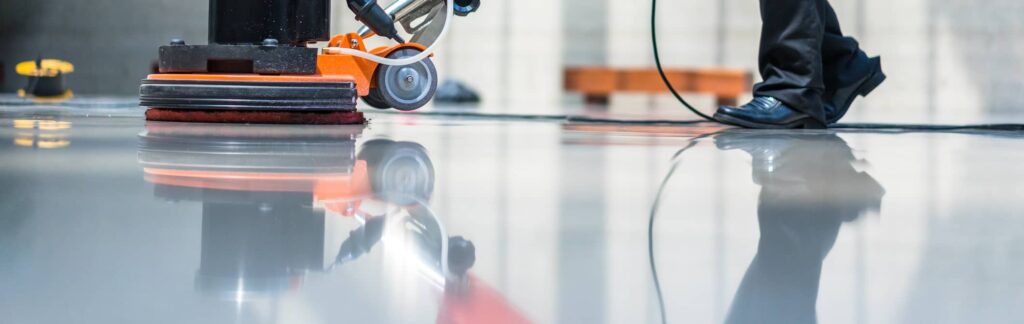
A Guide to Floor Maintenance

10 Oct

Floors need maintaining, especially polished floors. There are 2 things that need to be done to maintaining polished floors:

  • Spray Cleaning
  • Full Strip and Polish

We will be looking at both tasks in this guide.

Think Health and Safety: Always wear the correct PPE (Personal Protective Equipment)

Spray Buffing

Spray buffing, is a quick and easy way to clean a polished floor. It takes minimal effort and can be done quite quickly.

For this you will need:

  • A buffing machine with a buffing pad
  • Vel Mop or Vacuum Cleaner
  • Dustpan and Brush
  • Wet Floor Sign
  • Trigger Spray of Floor Maintainer
  1. First, make sure all equipment is assembled.
  2. Make sure to also put your wet floor sign out, with the side marked “Cleaning In Progress” outward.
  3. Now you need to spray the floor, using small amounts on the area you want to clean and use the buffing machine to buff the floor, moving left to right.
  4. Repeat this, working across the room, working from the furthest point towards the door.
  5. Once complete, remove the wet floor sign.

Strip and Polish

This takes considerably longer, so I will break it down into steps.

For this you will need:

  • A buffing machine with a buffing and scrubbing pads
  • Vel Mop or Vacuum Cleaner
  • Colour Coded Mop and Bucket
  • Dustpan and Brush
  • Wet Floor Sign
  • Floor Cleaner
  • Vinegar
  • Polish Remover
  • Non slip High Gloss Floor Polish

Step One: Sweep and Wash the Floor

  1. Make sure to also put your wet floor sign out, with the side marked “Cleaning In Progress” outward.
  2. Use your Vel Mop or the Vacuum Cleaner, to remove the dirt from the floor.
  3. mop and bucket, to wash the floor, using your floor cleaner. Wait for the floor to dry.
  4. Empty your bucket and wash

Step 2 – Strip The Polish

  1. Pour floor stripper into the bucket, (neat) and then systematically mop from the furthest point to the door. You will need to use a scrubbing pad on your machine, to remove the polish.
  2. Let the floor dry.

Step 3: Neutralise

We need to neutralise the floor or the polish will not work. To do this, dilute a cap full of vinegar into a bucket. Mop on, making sure to fully mop the solution into every part of the floor. Using the machine, work across the floor, moving left to right.

Wait for the floor to dry and empty and wash out your bucket.

Apply Polish

Types of Polish: Water-based polish is used for hardwood floors. Polyurethane is an oil-based polish can also be used on wood floors, as well as on lino flooring.

Now we need to apply the polish. To do this, fill your bucket with polish, only using enough for the room you are working on.

Mop using a systematic approach, rom the furthest point to the door.

Wait for the polish to dry and dry and empty and wash out your bucket.

Buff the Floor

Use the machine to buff the floor, working across the room, working from the furthest point towards the door.

Return all equipment and remove the wet floor sign.

And that’s how you maintain a wood and lino floor 🙂

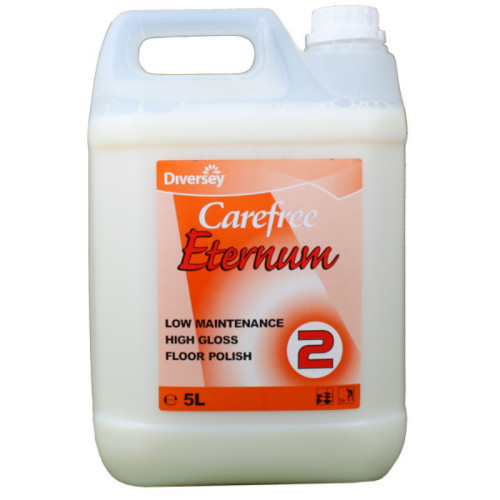
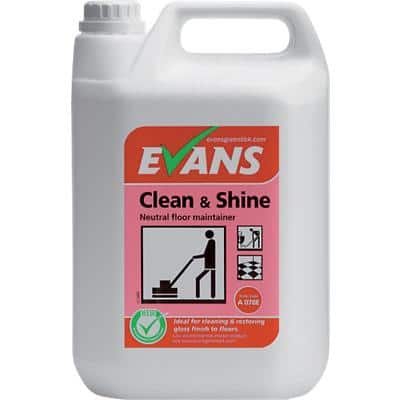
Suggested Products for Floor Care

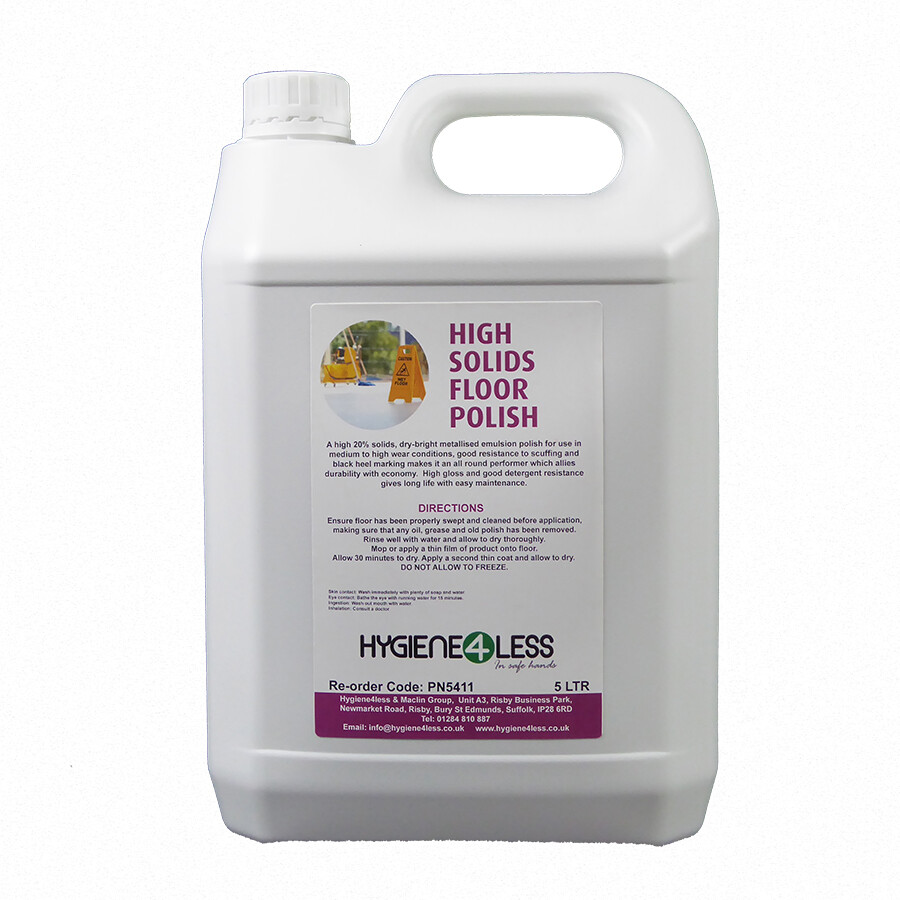
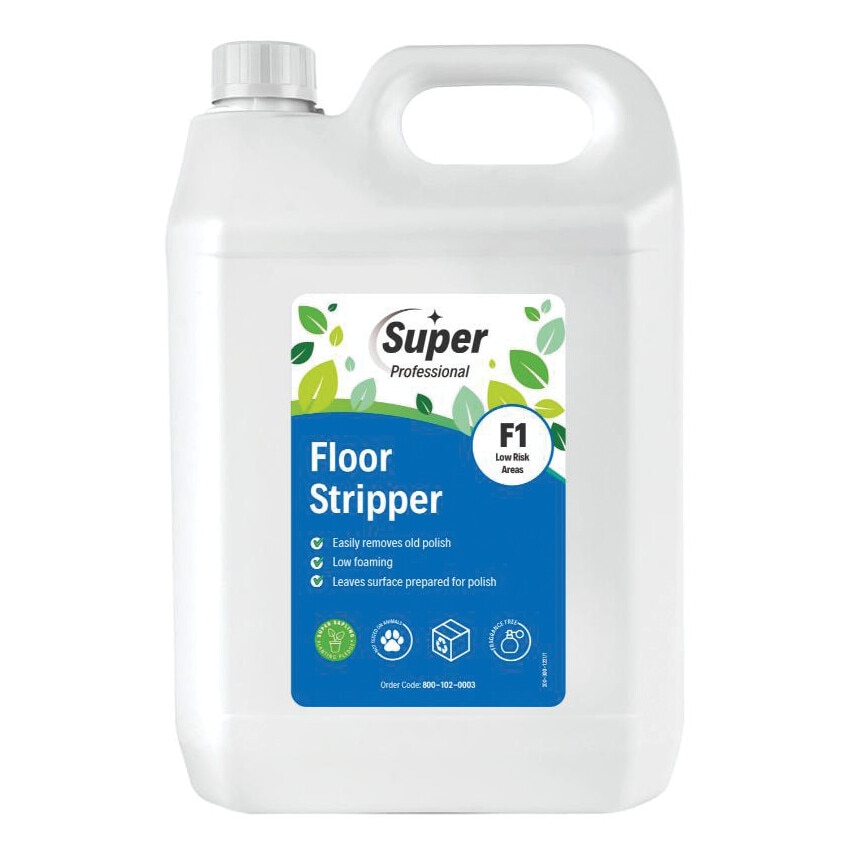
F2e Carefree Eternum High Gloss Floor Finish 5LEvans Vanodine Clean & Shine Floor Maintainer 5L5 Litre High Solids Floor Polish PN5411 - hygiene4lessEvans5L Floor Stripper (PK-2)


Another Busy Day At BHF

10 Oct

It has been another busy day at the shop today. I have been an apprentice till operator, so my ‘Work Wife’: Maria, has been showing me the ropes. I got the hang of it quite quickly! So for once, I was on the shop floor all morning!

At lunch, myself and Maria managed to miss each other again, as we were both going to Macci’s for lunch, but managed to both be in the wrong place at the wrong time!!!!

Then I ended up using my deck brush to scrub the lino in the loos, locker room and the kitchen as part of my daily clean. The Lino has never looked so clean! You can click here, to view my post on cleaning Safety Lino.

I did manage to pick up a bargain though – a really nice hoody, with staff discount. (£1.50, which is a real bargain!!)

I’m on the air now with Drivetime.

A Guide to Washroom Cleaning

9 Oct

The toilet: Also known as the washroom, the bog, the gents, the ladies, the bathroom, the lav, the lavatory, the restroom, the facilities, the crapper, or what ever else you want to call it… Is one of the highest traffic areas in the workplace. Used all day every day, the toilets will get a right battering and  that is why getting the toilets at work clean is very important and could even be classed as mission critical.

We’re judged by how clean our toilets are, so it is important to get it right the 1st time. There are a few steps to follow, which are covered in this guide. This was the way I was trained, which I think is the best way, to making sure your toilets are pristine.

Our washroom gets cleaned once daily, but is checked every hour and cleaned again where appropriate.

Assemble Equipment

You need the right tools for the job, so it is important that you get everything ready. You will need:

  • Caution Wet Floor Signs
  • The correct colour coded mop and bucket
  • The correct colour coded broom \ vel mop and the right colour coded dustpan and brush
  • The right colour coded cloths
  • The right chemicals – disinfectant sprays, toilet cleaner, liquid disinfectant, air fresheners etc.
  • Consumables – paper towels, toilet rolls, soap
  • PPE – tabard \ apron, colour coded gloves safety goggles.
  • Bin bags

Think Health and Safety: Always read the labels on the cleaning chemicals, before using them! Never mix chemicals, as it can result in chlorine gas being released. CLORINE IS TOXIC!

So now we have what we need, start by dosing the right amount of chemicals into your bucket. (in my case disinfectant. We always put the chemical in 1st, before filling the bucket. This avoids splashing.

Step 1: Prepare

Now we need to prepare to clean. It is a good idea to knock on the door and announce yourself. If there is someone in the toilets, wait for them to leave. Now prop the door open and put the wet floor sign in the doorway, with the side that shows ‘cleaning in progress’ facing outward. This lets everyone know you are cleaning.

Step 2: Apply Toilet Cleaner

First, flush the toilet. The reason we do this, is to make sure anything in the bowl is fully evacuated. Now lower the water using your toilet brush. The brush will help lower the water below the normal level and allow the toilet cleaner to clean below the water line. Now apply a thick layer of toilet cleaner under the rim of the toilet, making sure the entire surface of the bowl is covered. Don’t scrub yet, leave it to soak.

For Urinals, use the same method. On Steel Urinals, you will need to use a acidic chemical, which will not damage the surface.

Step 3: Clean all Surfaces

Spray all surfaces, using disinfectant spray. This includes the toilet cistern, all parts of the seat, the flush handle, the outside of the pan, (including the soil pipe) the sink, taps, mirrors, towel and toilet paper dispensers, sanitary bins, hand dryers, the outside of urinals and vending machines. (where present) Make sure you give these surfaces a thorough wipe down.

For surfaces such as door handles, locks, light switches and call points: Spray cleaner on the cloth and then wipe over.

While you are at it, now is a good time to replace consumables, such as toilet rolls, hand towels, sanitiser and soap. Also now may be a good time to also empty bins and replace bin liners.

Think Health and Safety: Do not try to empty the sanitary bins, this is normally done by a specialist contractor, such as PHS.

Do not clean the inside of the toilet pan yet!

Step 4: Sweep the Floor

First remove larger debris by hand. (Paper Towels, big bits of loo paper and other rubbish. Use either a broom or a Vel Mop, (Fluffy flat mop) to mop the floor. Work from the furthest point, working towards the door. Sweep any debris into a pile near the door and sweep up with your dustpan and brush.

Think Health and Safety: Beware of hazards such as hypodermic needles and other objects that may be hazardous.

Step 5: Clean the Toilet Bowl

Give the inside of the toilet bowl a good scrubbing with your toilet brush. The same goes for urinals. Make sure you really work the toilet cleaner into the pan \ urinal, so it foams a bit. Now give the toilet a good flush. For Urinals, you can gently flush with a bucket of water or wait for the auto flush.

Nearly done!

Step 6: Inspect

Go back and inspect your work and correct anything that has been overlooked.

Step 7: Mop the Floor

Now mop the floor, starting from the furthest point. I prefer to mop side to side, working backward across the room. Make sure you rinse your mop, (by dipping it back in the bucket and ringing regularly) as you go.

Once the floor has dried, remove the wet floor sign and put the toilets back into use.

And that is the correct procedure for cleaning toilets in the workplace 🙂

The Right Way to Clean Safety Linoleum

9 Oct

Safety Linoleum is very useful in kitchens and toilets, because it is non slip. However, due to the way it is made, it can be a pain to clean. This is due to the surface, which feels abrasive to touch. Normal Linoleum on the other hand, is smooth to touch.

Safety Linoleum, is harder to clean, because of the abrasive surface, which helps your feet grip. Mopping alone, will not get rid of the deep down dirt, which will make the lino look dirty and worn. However, it is not too hard to keep a floor with this kind of covering clean.

The below video, will show you the correct way to clean safety lino, restoring it to it’s former glory. This is the procedure I follow at work, when cleaning the safety lino in our toilets and kitchen. These floors get a deep clean every Sunday.

Brilliant Day

9 Oct

I had a absolutely brilliant day down the shop. For a start, I had a lady chat me up, which was really funny and has myself and Maria in hysterics. (Especially when we were going on about fit Fireman!) Even Lucy was caking herself with laughter, when Maria called her on the Radio.

Then I had to take care of a customer that wasn’t feeling too well. She felt dizzy, so I got her a chair to sit on and kept an eye on her. Good thing I am a First Aider. Of course, I was up and down spot cleaning the shop floor too.

For lunch, I had a Macci’s. I thought Maria was going to Macci’s, so I thought I would join her. However, she went to Burger King, so we missed each other! This afternoon, I came out as gay to my colleagues, which they had no I’m gay. (Isn’t it obvious lol!!!!)

So been another busy day of cleaning and tidying, even though I had to drag the bin out the way – as the pub next door have no idea of Health and Safety. (They left their bin so it blocked the fire escape route!!!! – A big NO NO!)