Today, I had the unfortunate job of cleaning up body fluids. I won’t say what sort of body fluids it was, (or name and shame the individual) but lets just say it was RANK and that person should of known better! 🤢 It needed full PPE to clean that mess up. It lead to a a new radio keyword for cleaning emergencies. If you are in the shop and hear “Code Brown”, you know something needs cleaning.
Put it this way, a strongly worded notice has gone up!
Anyway, lets talk about cleaning up body fluids.
Body Fluids can mean several different things: Urine, Blood, Semen, Saliva and Feces. (Poo) Of course, this is not an extensive list, but you get the idea These body fluids, pose a real risk to our health and should be cleaned up, using the correct procedure.
Think Health and Safety: Always wear the appropriate PPE, when dealing with body fluids. (Apron, gloves, protective eyewear)
The Basics
The basic principles of blood and body fluid/substance spills management are:
- standard precautions apply, including use of personal protective equipment (PPE), as applicable
- spills should be cleared up before the area is cleaned (adding cleaning liquids to spills increases the size of the spill and should be avoided)
- generation of aerosols from spilled material should be avoided.
Using these basic principles, the management of spills should be flexible enough to cope with different types of spills, taking into account the following factors:
- the nature (type) of the spill (for example, sputum, vomit, faeces, urine, blood or laboratory culture)
- the pathogens most likely to be involved in these different types of spills.
- the size of the spill – for example, spot (few drops), small (10cm) 10>
- the type of surface – for example, carpet or impervious flooring
- the location involved – that is, whether the spill occurs in a contained area (such as a toilet) or in a larger area, which is open to the public. (For instance, a classroom, or a shop_
- whether there is any likelihood of bare skin contact with the soiled (contaminated) surface.
Standard cleaning equipment, including a mop, cleaning bucket and cleaning agents, should be readily available for spills management. It should also be stored in an area known to all. This is particularly important in clinical areas.
To help manage spills in areas where cleaning materials may not be readily available, a disposable ‘spills kit’ could be used. (See Below)
Equipment
You will need the appropriate equipment, for dealing with body spills
- appropriate leak-proof bags and containers for disposal of waste material
- a designated, sturdy scraper and pan for spills (similar to a ‘pooper scooper’)
- about five sachets of a granular formulation containing 10,000 ppm available chlorine or equivalent (each sachet should contain sufficient granules to cover a 10-cm diameter spill)
- disposable rubber gloves suitable for cleaning (vinyl gloves are not recommended for handling blood)
- eye protection (disposable or reusable)
- a plastic apron
Procedure for cleaning up Body Fluids
Small Spills
Spots or drops of blood or other small spills (up to 10 cm) can easily be managed by wiping the area immediately with paper towels, and then cleaning with warm water and detergent, followed by rinsing and drying the area. Dry the area, as wet areas attract contaminants.
A strong anti-germicide disinfectant, should always be used.
Larger Spills
Where appropriate, close off the area. (Where large spills (more than 10 cm, or where a spillage have occurred in a ‘wet’ area, such as a bathroom or toilet area) I normally use my closed for cleaning floor sign for this. The spill should be carefully washed off into the sewerage system using copious amounts of water and the area flushed with warm water and detergent.
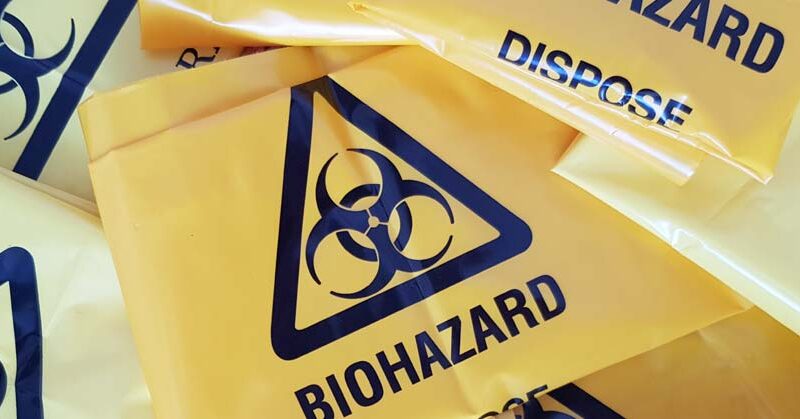
Where the spill is on the floor: Use a spills kit, to contain the spill. A scraper and pan should be used to remove the absorbed material. Use blue paper towels to scoop up the the granules, which should be put into a yellow clinical waste bag. The area of the spill should then be cleaned with a mop, and bucket of warm water and detergent. The bucket and mop should be thoroughly cleaned after use and stored dry.
Large blood spills should be contained and generation of aerosols should be avoided.
The Use of Bleach
It is generally unnecessary to use sodium hypochlorite (Bleach) for managing spills, but it may be used in specific circumstances. It is recognised, however, that some people may feel more reassured that the risk of infection is reduced if sodium hypochlorite is used. There is no evidence of benefit from an infection control perspective. Hypochlorites are corrosive to metals and must be rinsed off after 10 minutes and the area dried.
However, in many places, a blanket is in place, prohibiting the use of sodium hypochlorite, so it may not be possible to use bleach, depending on the policies n your workplace. We at BHF, are not allowed to use bleach, so a strong anti-germicide disinfectant, is what I will use.
Spills Kits
While spill kits are designed for certain spills, all spill kits usually consist of the same three elements: PPE, sorbents, and clean-up items.
Spills Kits include the following:
- Personal Protective Equipment (PPE): Whether the kit is designed for oils pills or a battery acid spill, there is always some type of PPE included in a spill kit. The most common types of PPE used for spills are eye and face protection, gloves, booties/shoe covers, and chemical spills usually require the use of a disposable lab coat, respiratory protection, and a corrosive resistant apron.
- Absorbents: These are items like mops, cloths, sponges, loose powder, etc. that are created out of material capable of absorbing and containing a spill. Absorbents in put in kits based upon the type of material they are designed to soak up. For example, all-purpose absorbents are placed in universal spill kits, but a battery acid spill kit is much more likely to contain and absorbent with a chemical neutralizer.
- Clean-up materials: Spill kits should have a dust pan or scoop to soak up the spill. Kits will also almost always include plastic bags for used PPE items to be put in for disposal. The kit itself should come in a container large enough for the potential spill. In addition to having appropriate supplies to clean the pill, the kit should include disposal materials and instructions for the worker. By properly disposing of spills and the clean-up of spills, it reduces/eliminates the potential for an environmental or public risk hazard.
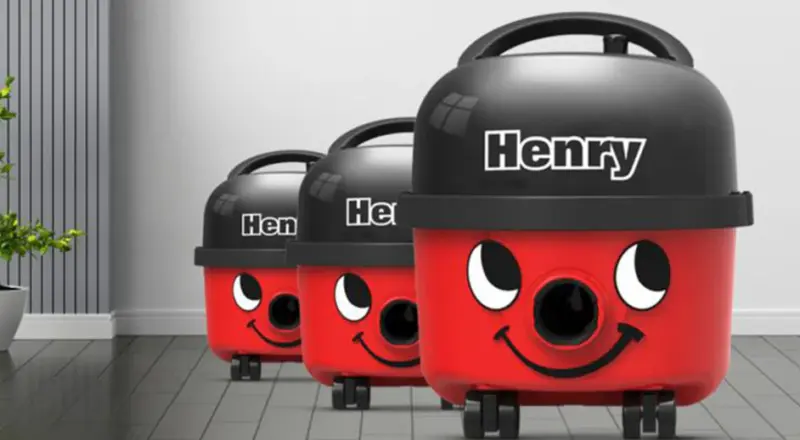
 Your Vacuum Cleaner is one of the most important tools, in your arsenal of cleaning equipment. Tub Vacs, come in all shapes and sizes, from the Numatic International range of tub vacs, (Henry, Hetty, George etc) to machines that can do wet and dry, shampooing and machines specialising in picking up hazardous materials.