In this guide, we will look at how to build Custom Windows Images to deploy via PXE using FOG. (Free and Open Source Ghost)
You will need:
- A Windows Distro you can activate. For this guide: We will use Windows Build 10H22.
- A Server configured to use FOG, with PXE (Pre-Execution Environment) working
- A Virtualisation Platform such as VMWare or XCP-NG) or a physical workstation you can use a physical disk on
- Applications to install. (We are going to pre-bake)
- A few hours spare
Install Windows
Boot up your VM and install Windows using your disk or disk image. This does take some time to complete. Once complete, follow Mini Setup, to get the OS ready. Create a local account, not a online account that uses a Microsoft Account. This is important, as you will need it later. You will need to make sure the CD Drive is set as the 1st boot item in the BIOS btw.
IMPORTANT: Once actually on the desktop, do not join the machine to a Network Domain, if you plan to use a Server Client Network.
Run Windows Update
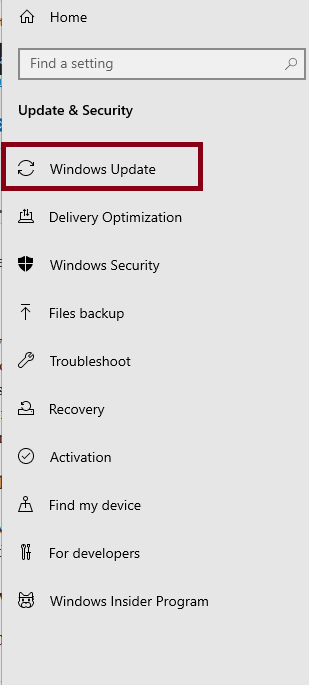
Run Windows Update, by pressing the Windows Key and I, then going to Windows Update. Your Reference PC will reboot several times during the update process and you may need to come back to this page to check for updates, until all updates are installed.
Install Applications
Once all updates are installed, install any software you need to install. (IE: Office etc) Do not install software for one user account, as the Sysprep will fail later on, if you do this.
Windows Update
If you have installed Office, run Windows Update again, so the updates for Office are installed. Skip this, if you didn’t install Office. Reboot as needed.
Sysprep
You will need to prepare the Operating System for deployment. Before doing this, go into the BIOS and find the Boot Section. Make sure the Network Card is set as the 1st boot item. Save and exit. The machine will try to contact PXE to boot, but you can press ESC to get it to boot to the Hard Drive. Again, press ESC, if the machine tries to boot to CD. (Or eject the disk)
Click on Start > Run. Type:: C:\Windows\System32\Sysprep into run and click OK. In the Sysprep folder, right click Sysprep.exe. Click Run ad Administrator. Click Yes, when the User Control Prompt asks you if you want to run the program.
On the Sysprep Window, make sure Enter System Out Of Box Experience (OBBE) is selected and the Generalise box is ticked. In Shutdown Options, click Quit. Click OK.
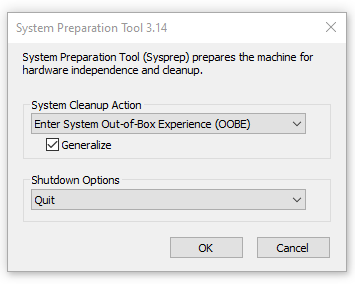
Sysprep will work it’s magic and with a bit of luck, should close the Window. If it throws an error, look at the Logs in C:\Windows\System32\Sysprep\Panther. You need to look at setupact.txt and setuperr.txt and google the error, to diagnose. Once fixed, run Sysprep again.
Shutdown the Reference PC.
Setting Up On Fog and Registering the Machine
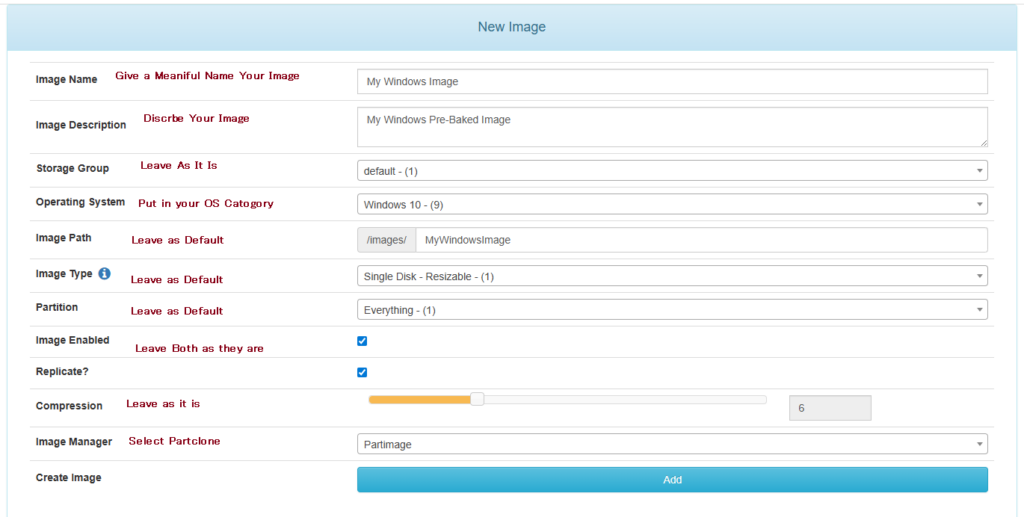
On your FOG Server, go to Images on the top menu and then Create Image on the side menu. Fill in the form as shown and click Add.
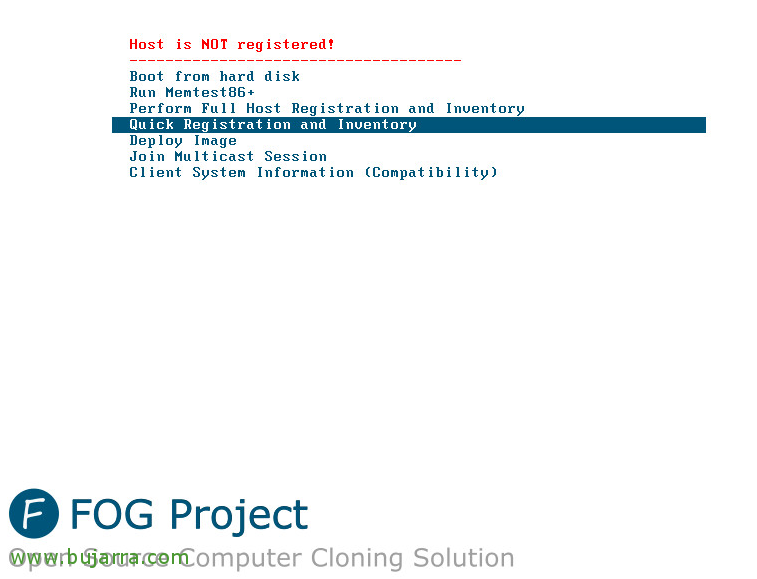
On your Reference Workstation, boot to the Network. On the Fog Window, select Quick Registration and Inventory. This will register the machine in FOG. Once done, power down straight away. We do not want to bot into Windows! (You will need to use your FOG Username and Password to authenticate to the server)
Prepare to Image
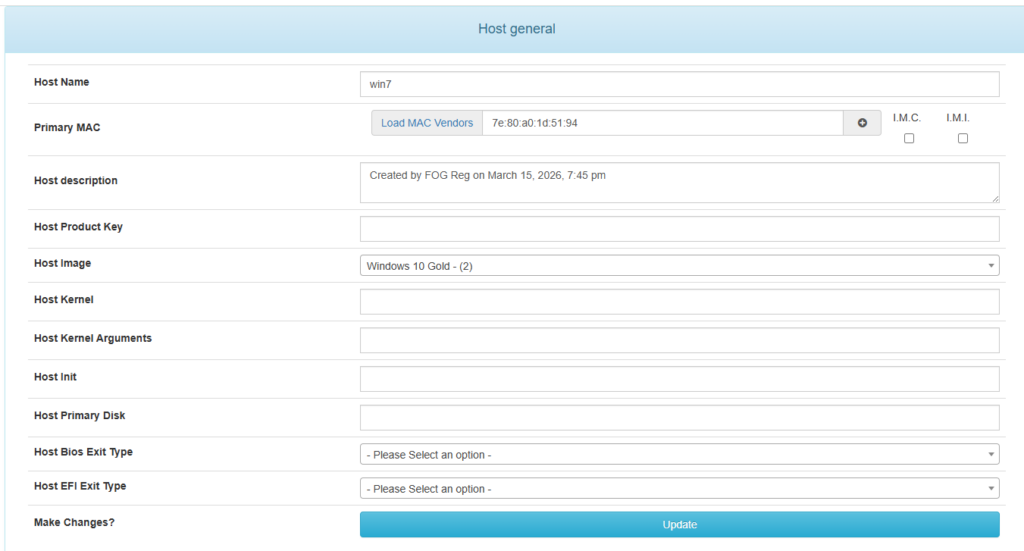
On the Fog Server, click the Hosts Button. Click List Hosts and select the host you just created.

Select the Image You just created and click Update. Go back to your Host and click Tasks. Now click Capture.

On the Task Window, leave all options as they are and click create.
Capture The OS
Now we can capture the OS to the server. Boot your Reference Workstation to the Network. After a few minutes, the capture screen should show as follows:
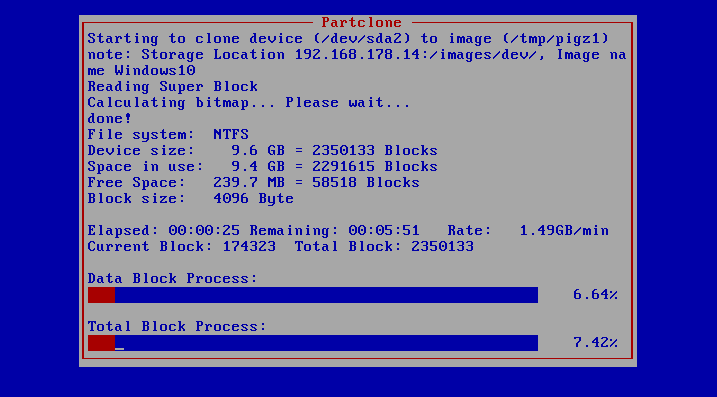
This may take some time. Afterward, the machine should reboot, so either you can keep hitting escape and boot to in Setup or shut the machine down.
Deploying the Image
By Default, this should be the custom image for installing. (Unless you have created others. So on a registered machine, boot to the network and select Deploy Image. Authenticate and then select the image you want to deploy.
Well done! You have custom images that take half the time to deploy than manually doing it, or using tools such as Microsoft Deployment Toolkit.